The Delightful Art of Making Homemade Vanilla Ice Cream
The Delightful Art of Making Homemade Vanilla Ice Cream
There’s something truly magical about the creamy, smooth goodness of vanilla ice cream. Whether enjoyed on its own, paired with a warm slice of pie, or used as the perfect base for a sundae, vanilla ice cream is a classic treat that never goes out of style. While store-bought options are readily available, there’s nothing quite like the satisfaction of making your own homemade version. In this guide, we’ll walk you through the steps of creating a delectable batch of vanilla ice cream from scratch.
Gather Your Ingredients
Before embarking on your ice cream adventure, it’s essential to gather all the necessary ingredients. Here’s what you’ll need:
- 2 cups of heavy cream
- 1 cup of whole milk
- 3/4 cup of granulated sugar
- 2 teaspoons of pure vanilla extract
- A pinch of salt
Make sure your ingredients are fresh and of high quality. After all, the better the ingredients, the better the ice cream!
Prepare the Ice Cream Base
Now that you have your ingredients ready, it’s time to start preparing the ice cream base. Follow these simple steps:
- In a mixing bowl, whisk together the heavy cream, whole milk, granulated sugar, vanilla extract, and salt until the sugar is fully dissolved.
- For an extra burst of flavor, you can also scrape the seeds from a vanilla bean pod and add them to the mixture.
- Once everything is well combined, cover the bowl and refrigerate the mixture for at least 2 hours, or overnight if possible. Chilling the base will ensure a smoother texture and better flavor.
Churn and Freeze
Now comes the exciting part – turning your chilled ice cream base into a frozen delight! Follow these steps to churn and freeze your vanilla ice cream:
- Take the chilled mixture out of the refrigerator and give it a good stir to ensure it’s well mixed.
- Transfer the mixture to an ice cream maker and churn according to the manufacturer’s instructions. This usually takes around 20-30 minutes, but times may vary.
- As the mixture churns, it will gradually thicken and freeze. The end result should be a soft, creamy texture.
- If you prefer a firmer consistency, transfer the churned ice cream to an airtight container and place it in the freezer for a few hours until it reaches your desired firmness.
Serve and Enjoy!
Once your homemade vanilla ice cream has reached the perfect consistency, it’s time to serve and enjoy the fruits of your labor. Here are a few serving suggestions to make your ice cream experience even more delightful:
- Scoop generous portions into bowls or cones and top with your favorite toppings, such as chocolate sauce, caramel drizzle, or crushed nuts.
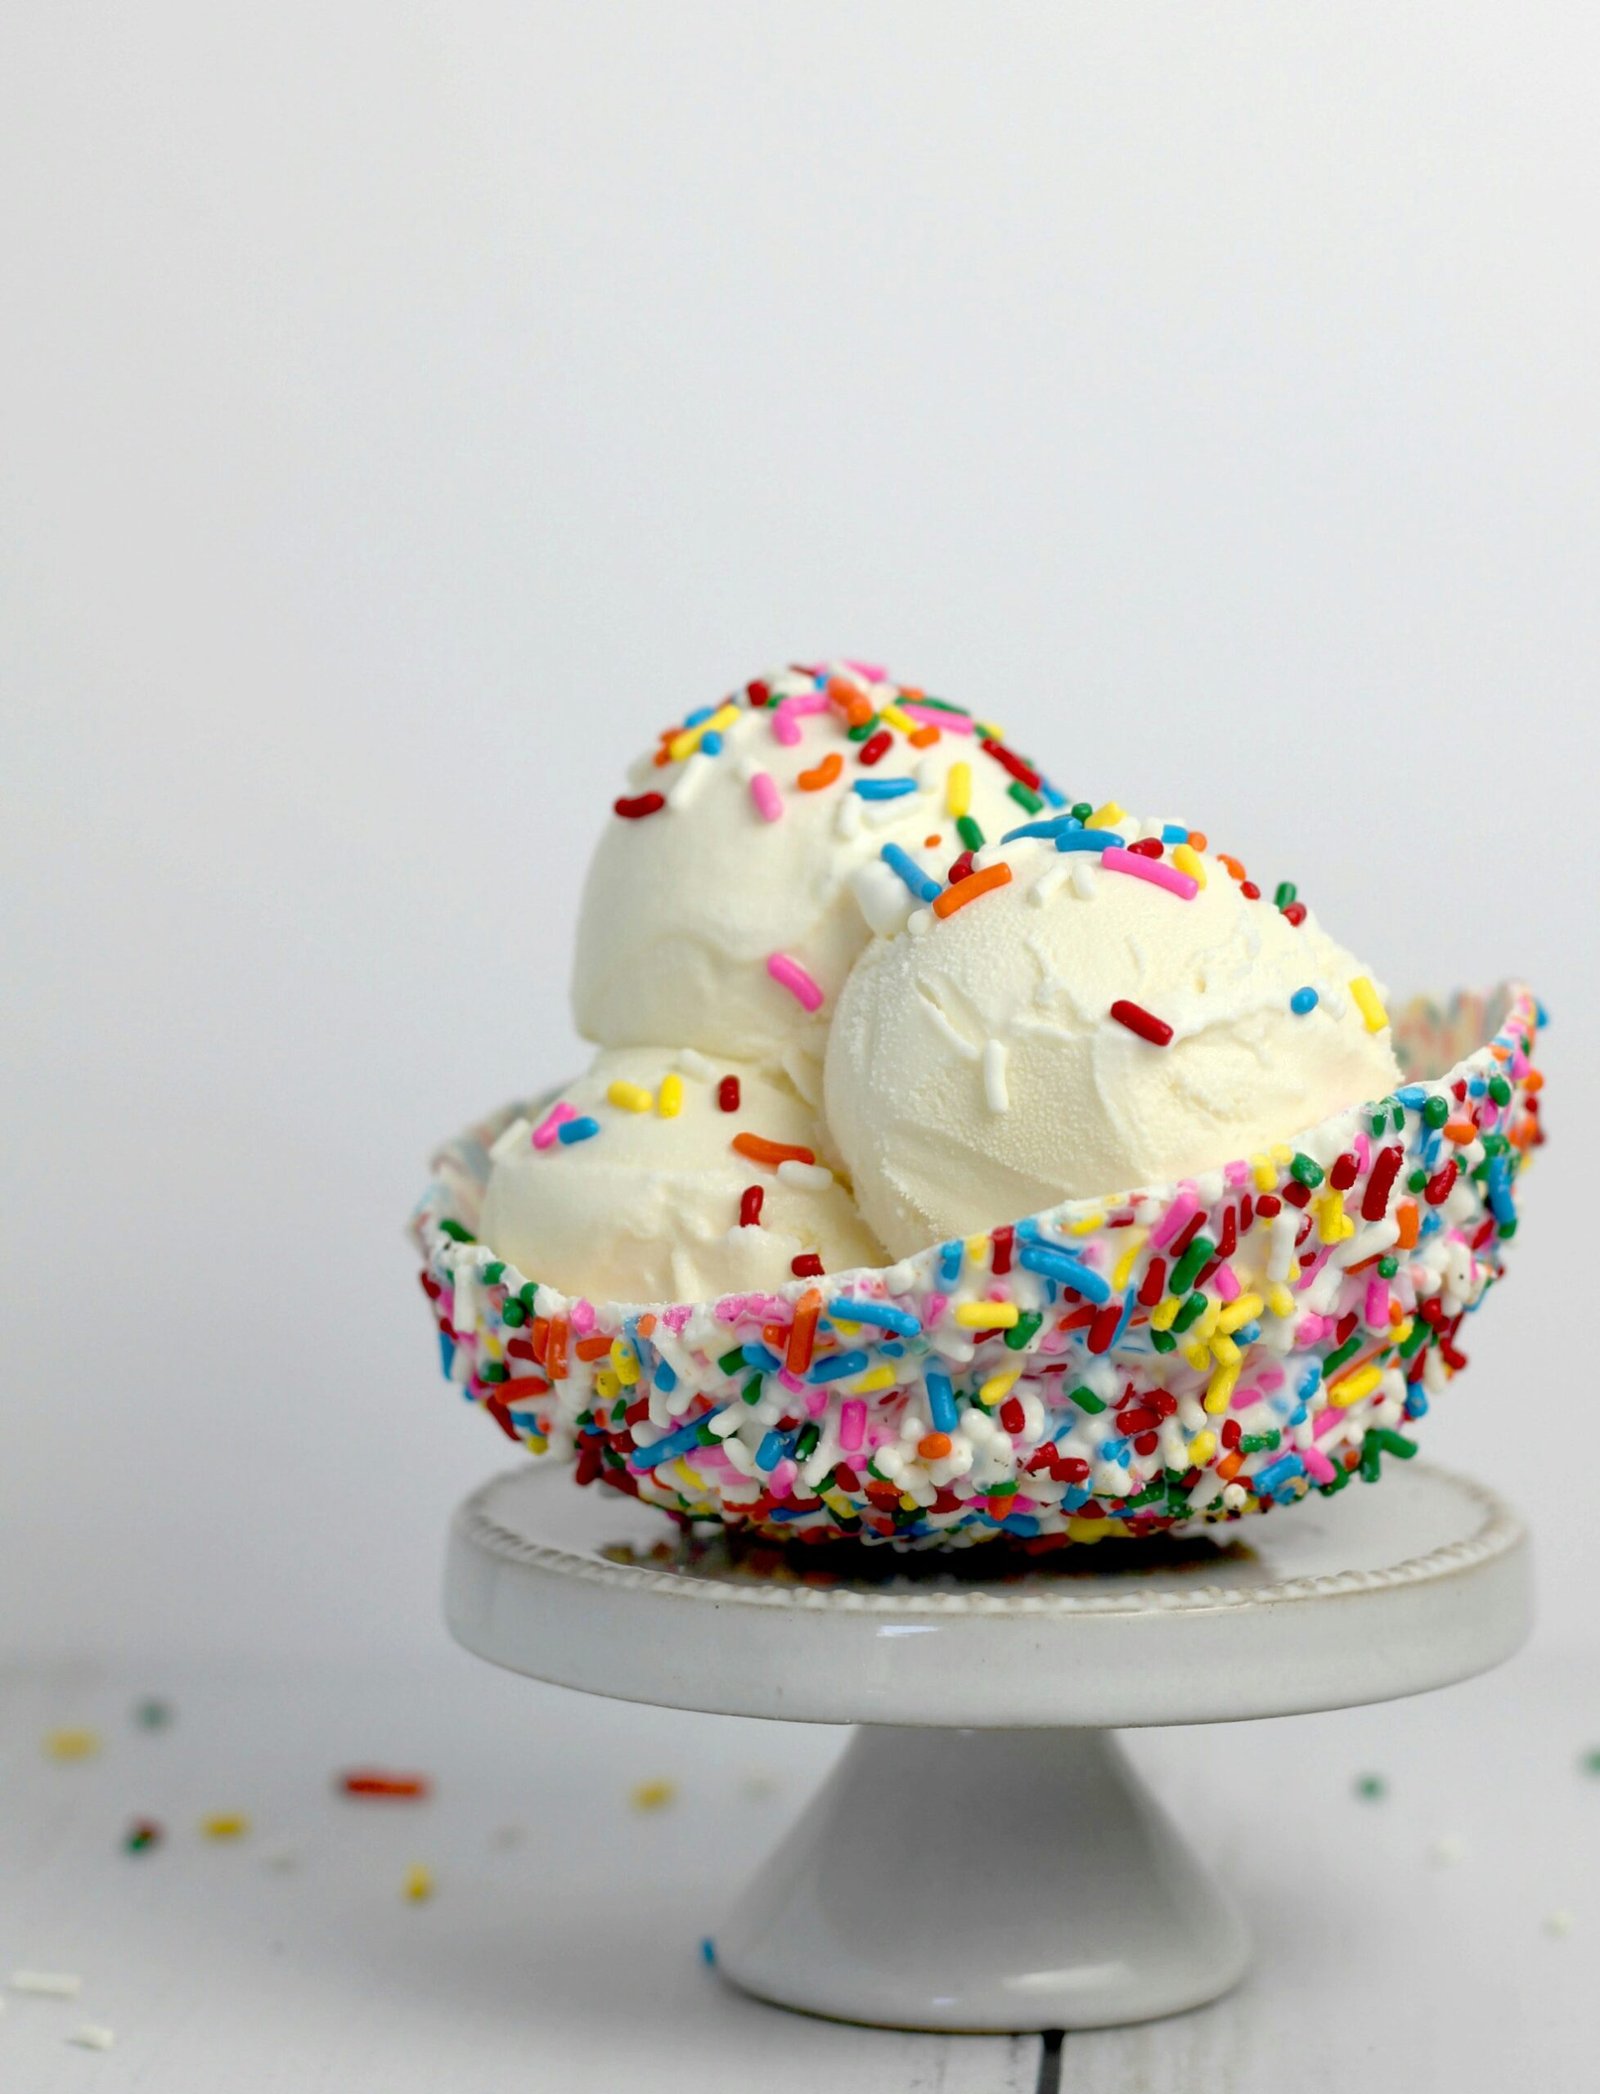
- Create a classic ice cream sundae by adding whipped cream, sprinkles, and a cherry on top.
- Pair your vanilla ice cream with a warm slice of apple pie, a gooey brownie, or a freshly baked cookie for the ultimate dessert experience.
Remember, homemade vanilla ice cream is a versatile treat that can be enjoyed on its own or as a delightful accompaniment to a wide variety of desserts. Get creative and experiment with different flavors and mix-ins to create your own signature ice cream creations.
Cleanup Tips
After indulging in your homemade vanilla ice cream, it’s time to tackle the cleanup. Here are a few tips to make the process a breeze:
- Immediately wash your ice cream maker and utensils with warm, soapy water to prevent any residue from hardening.
- Allow the ice cream maker bowl to come to room temperature before washing to avoid any potential cracking.
- Store any leftover ice cream in an airtight container in the freezer. Be sure to cover the surface of the ice cream with plastic wrap or parchment paper to prevent ice crystals from forming.
With these tips in mind, you’re well on your way to becoming an expert in the art of homemade vanilla ice cream. So go ahead, gather your ingredients, and let your creativity shine as you embark on this delicious journey!

