Mastering the Art of Bread Baking
Mastering the Art of Bread Baking
There’s something magical about the aroma of freshly baked bread filling your kitchen. The combination of flour, yeast, and a little bit of love can result in a delectable loaf that will impress your family and friends. If you’ve always wanted to try your hand at baking bread but didn’t know where to start, fear not! In this guide, we’ll walk you through the essential steps to become a bread-baking maestro.
Gather Your Ingredients
Before you embark on your bread baking journey, it’s crucial to gather all the necessary ingredients. Here’s what you’ll need:
- Flour: Choose a high-quality flour that suits your recipe. All-purpose flour works well for most bread recipes, but you can experiment with different types like whole wheat or rye for added flavor and texture.
- Yeast: This is the magical ingredient that makes your bread rise. You can use either active dry yeast or instant yeast, depending on your preference.
- Water: The temperature of the water is crucial for activating the yeast. It should be warm, but not too hot, around 110°F (43°C).
- Salt: Salt enhances the flavor of your bread and helps control the fermentation process.
- Sugar or Honey: A small amount of sugar or honey can provide food for the yeast and help with browning.
- Fat: Some bread recipes call for the addition of fat, such as butter or olive oil, to improve the texture and flavor.
- Optional Additions: You can get creative with your bread by adding nuts, seeds, herbs, or even dried fruits to the dough.
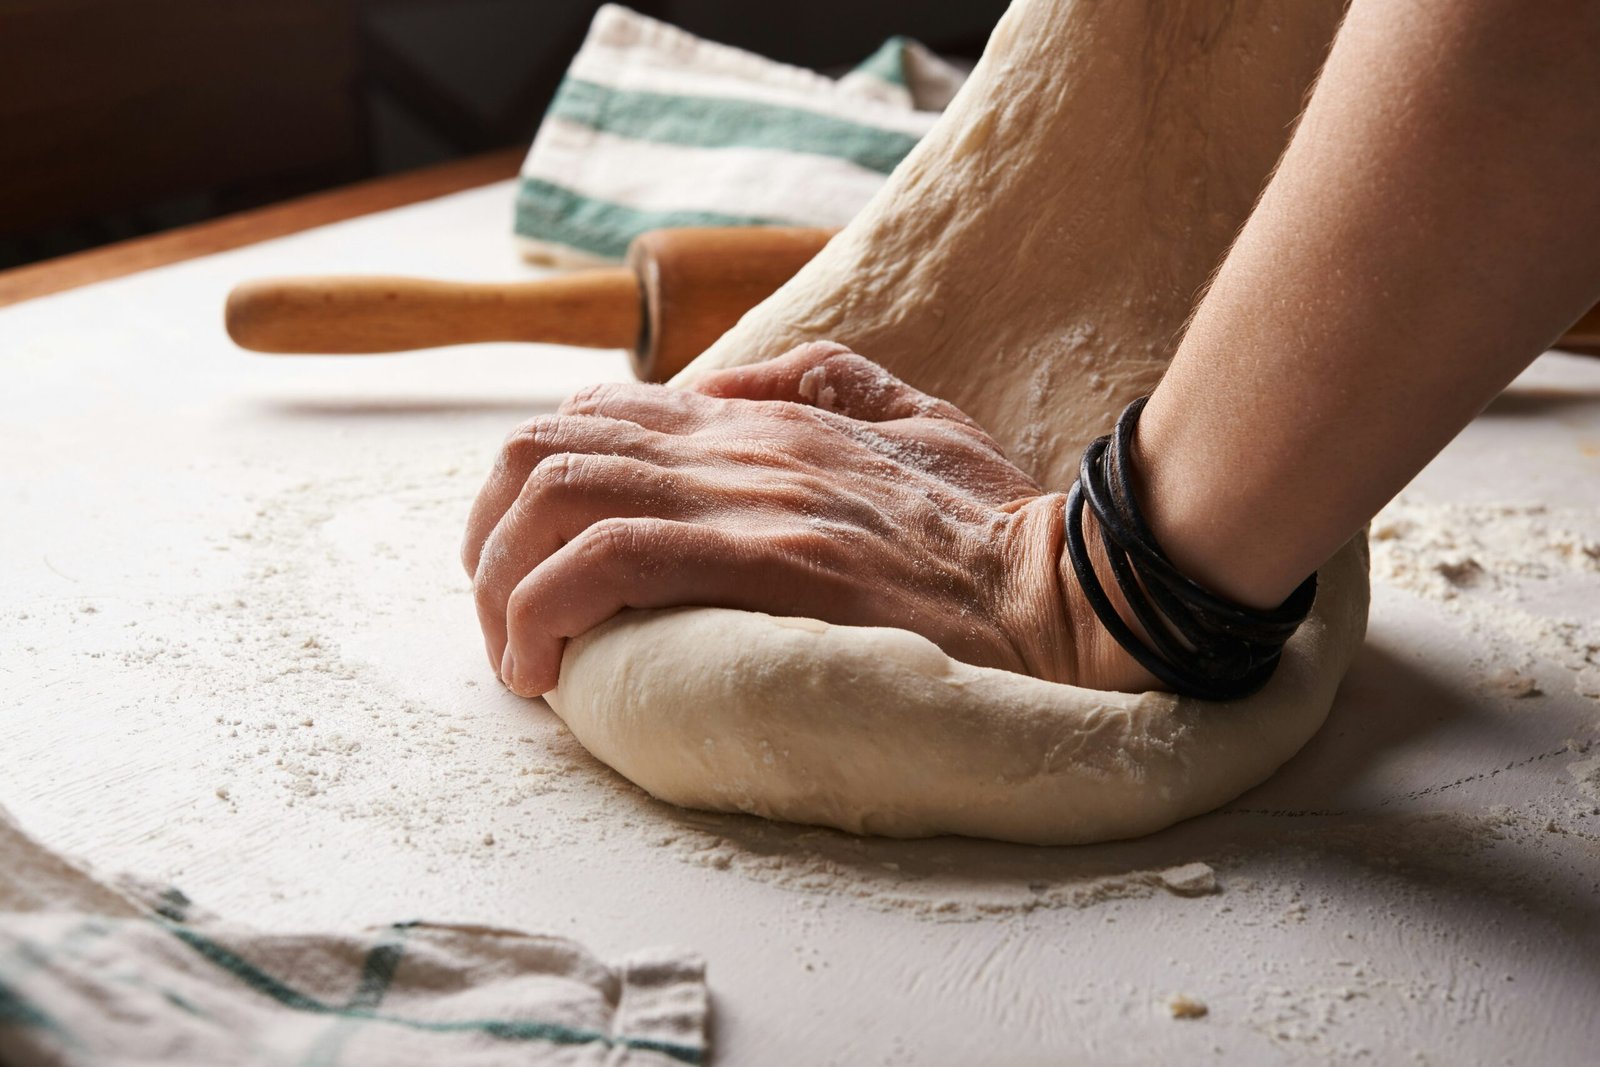
The Art of Kneading
Kneading is a crucial step in bread baking. It helps develop the gluten in the dough, which gives bread its structure and chewiness. Here’s how to knead like a pro:
- Start by lightly flouring your work surface to prevent the dough from sticking.
- Place the dough on the floured surface and gently press it down to flatten it.
- With the heel of your hand, push the dough away from you, then fold it back over itself.
- Rotate the dough a quarter turn and repeat the pushing and folding motion.
- Continue kneading for about 10 minutes or until the dough becomes smooth and elastic.
- If the dough feels sticky, you can add a little flour, but be careful not to add too much, as it can make the bread dense.
Remember, kneading is a labor of love. Embrace the process and enjoy the therapeutic rhythm of working the dough.
The Art of Proofing
Proofing is the process of allowing the dough to rise after kneading. It’s a crucial step that allows the yeast to ferment and create those beautiful air pockets in your bread. Here’s how to master the art of proofing:
- Place the kneaded dough in a greased bowl and cover it with a clean kitchen towel or plastic wrap.
- Find a warm spot in your kitchen, away from drafts, and let the dough rise until it doubles in size. This can take anywhere from 1 to 2 hours, depending on the recipe and ambient temperature.
- If you’re short on time, you can speed up the proofing process by placing the dough in a slightly warmed oven (turned off) or using the proofing function if your oven has one.
Keep an eye on the dough during proofing. You want it to rise adequately, but not overproof, as it can result in a collapsed loaf with a dense texture.
The Baking Process
Finally, it’s time to bake your bread and fill your home with that irresistible aroma. Here’s what you need to know about the baking process:
- Preheat your oven to the temperature specified in your recipe. Most bread recipes call for a high temperature, around 400°F (200°C), to create a crisp crust.
- If you like a chewy crust, you can create steam in your oven by placing a pan of hot water on the bottom rack. The steam helps develop a thick and crispy crust.
- Before placing the dough in the oven, you can slash the top with a sharp knife or razor blade. This allows the bread to expand without cracking on the sides.
- Bake the bread for the time specified in your recipe, but keep an eye on it. Every oven is different, and you don’t want your masterpiece to burn.
- To check if the bread is done, tap the bottom. If it sounds hollow, it’s ready! If not, give it a few more minutes in the oven.
- Once the bread is baked, resist the temptation to slice into it immediately. Allow it to cool on a wire rack for at least 30 minutes to an hour. This will help the flavors and textures settle.
Now, all that’s left to do is gather your loved ones, slice into that beautiful loaf, and savor the fruits of your labor. You’ve officially become a bread-baking extraordinaire!
Experiment and Have Fun
Bread baking is an art form that allows for endless creativity. Once you’ve mastered the basics, don’t be afraid to experiment with different flours, flavors, and techniques. Try your hand at sourdough, baguettes, or even sweet breads. The possibilities are endless!
Remember, baking bread is not just about the end result; it’s about the journey. Embrace the process, enjoy the therapeutic nature of working with dough, and most importantly, have fun!